Description
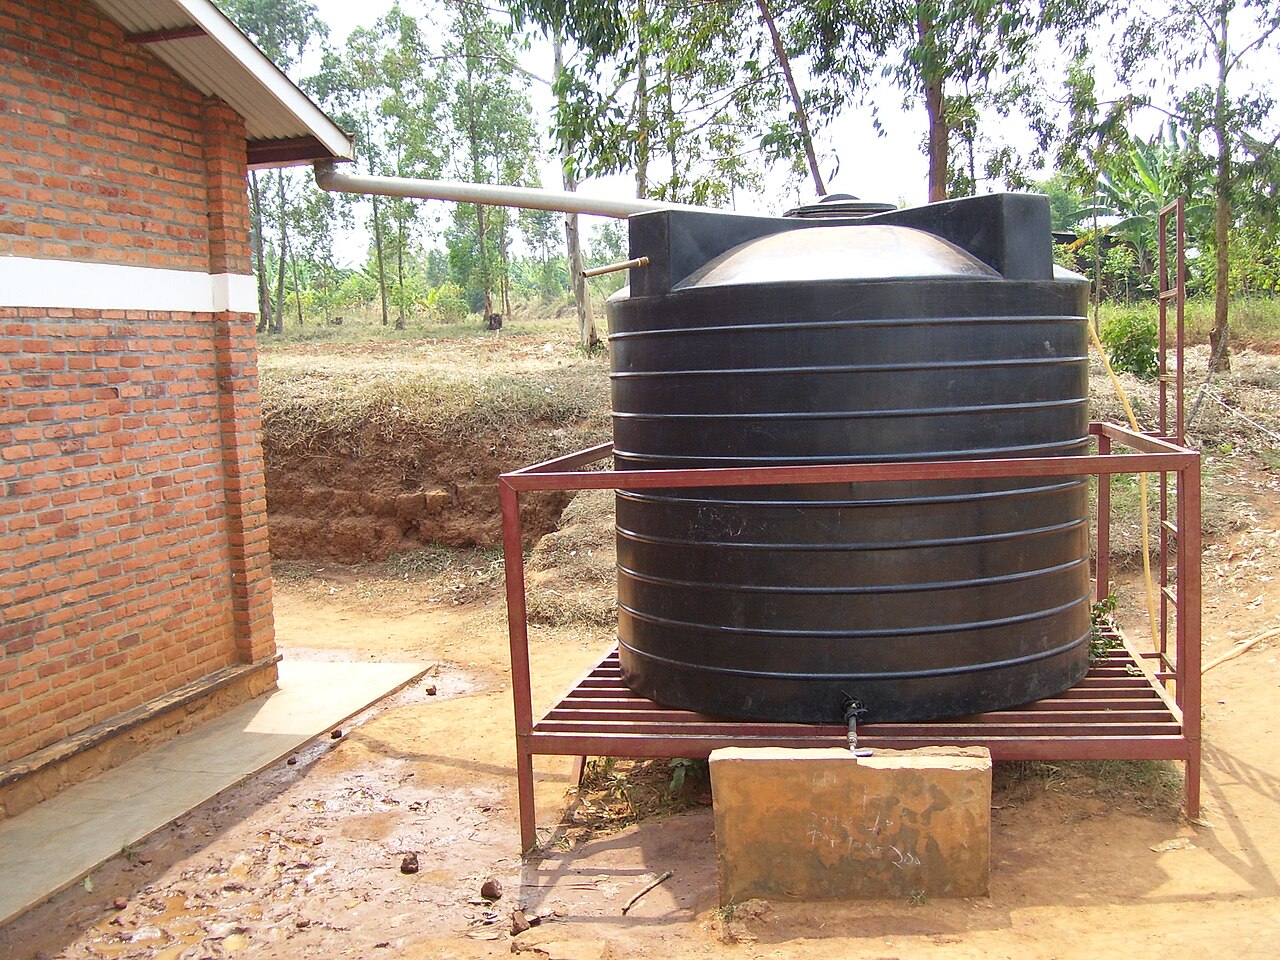
Every time it rains, water rushes off roofs and driveways, picking up soil, fertilizer and debris on its way to storm drains, and from there into local creeks, the Fox River and Lake Winnebago. A rain barrel catches some of that water at the downspout so you can use it later on your garden. It is one of the easiest stormwater projects a household can take on, and a great first step toward a rain garden.
This kit gives you a ready-to-install 55-gallon barrel and all the fittings you need to connect it to a standard downspout.
Who it is for
- Homeowners and gardeners who want free, unchlorinated water for flower beds, vegetable gardens and potted plants.
- Households looking for a practical way to reduce runoff from their roof.
- Schools, nature centers and community gardens that want a hands-on stormwater demonstration.
- Renters, with landlord permission, who have access to a downspout.
What is included
- 55-gallon barrel: a repurposed food-grade plastic drum, cleaned and drilled, giving a second life to a container that would otherwise be discarded.
- Screened inlet lid to keep out leaves, debris and mosquitoes.
- Brass spigot near the base for filling watering cans or attaching a garden hose.
- Overflow fitting and hose to direct excess water away from your foundation, or to a second barrel or rain garden.
- Flexible downspout connector that fits standard residential downspouts.
- Thread seal tape and a printed setup and seasonal care guide.
How it works
- Choose a downspout. Pick one that drains a good portion of your roof and sits near the garden you want to water. Check any local rules about downspout changes before you begin.
- Build a level, raised base. Set the barrel on a sturdy, level platform such as concrete blocks or pavers (not included). Raising it 12 to 18 inches gives better water pressure and room for a watering can. A full barrel weighs over 450 pounds, so the base must be solid.
- Cut and connect the downspout. Shorten the downspout above the barrel and attach the flexible connector so water flows into the screened inlet.
- Route the overflow. Point the overflow hose at least several feet from your foundation, toward a lawn, garden bed or rain garden.
- Use the water. Use the spigot to fill watering cans or connect a soaker hose. Empty the barrel between storms so it is ready to catch the next rain.
- Winterize before freeze-up. In late fall, before hard freezes, drain the barrel, disconnect it, reconnect your downspout extension and store the barrel upside down or indoors so ice cannot crack it.
What you get afterwards
A single 55-gallon barrel fills quickly in an ordinary summer storm, since even a modest section of roof sheds a lot of water. You will have a supply of soft, room-temperature water ready for your plants, and you will be keeping some runoff out of the storm sewer. You can add a second barrel or pair the overflow with a rain garden to capture even more. Learn more from the Wisconsin DNR’s rain garden resources and the U.S. EPA’s Soak Up the Rain program.
Shipping
This is a physical kit. It ships to addresses within the contiguous United States. Because the barrel is large, it ships in its own carton with fittings packed inside. We aim to ship within 5 business days of your order and email tracking information when it is on its way. Shipping cost is calculated at checkout. See our refund policy for returns and damaged items.
Specifications
| Detail | Information |
|---|---|
| Capacity | 55 gallons |
| Barrel material | Repurposed food-grade plastic (HDPE) |
| Fittings | Screened inlet, brass spigot, overflow fitting and hose, downspout connector |
| Base | Not included; use level blocks or pavers |
| Full weight | Over 450 lbs when full |
| Shipping weight | 22 lbs |
| Package dimensions | 24 x 24 x 36 in |
| Ships to | Contiguous USA |
Kit sales help fund the free stormwater and watershed guides we publish for the Fox Valley community.